
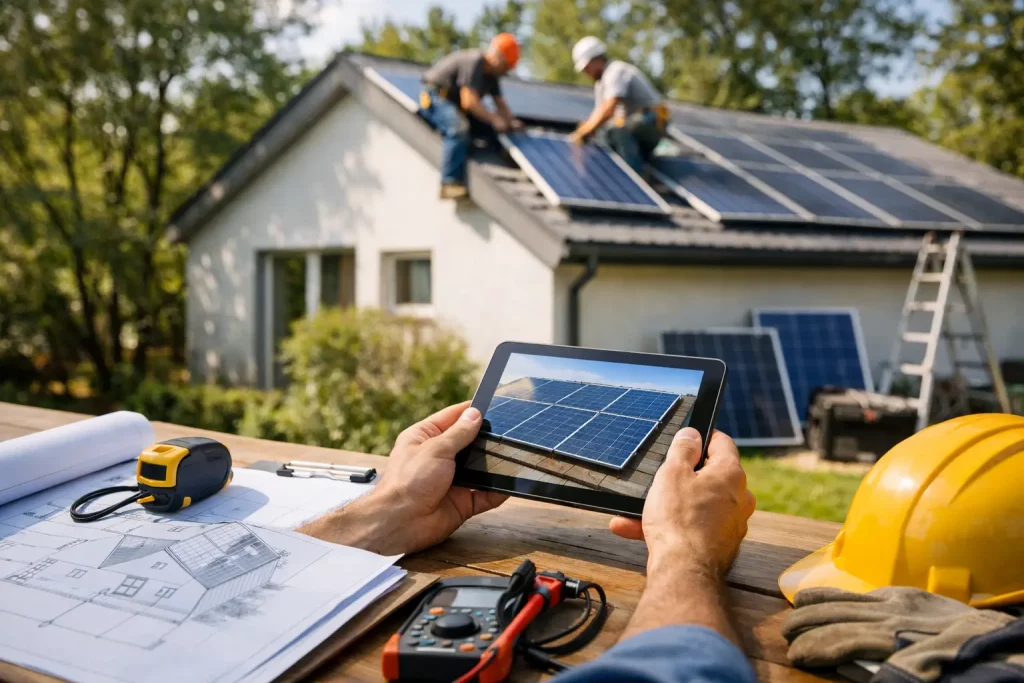
A solar installation is a practical upgrade to your property, but the best results begin before the panels arrive. Knowing how to prepare for solar installation helps avoid delays, protects your home and gives your installer the information needed to design a system that delivers meaningful savings.
For most UK homes and businesses, preparation is straightforward. It is about checking the condition of the building, making access safe and thinking ahead about how you use electricity. A good installer will guide the technical process, but a little planning on your side can make installation day far simpler.
How to prepare for solar installation before your survey
The first step is to be clear about what you want the system to achieve. You may be looking to reduce daytime electricity costs, protect yourself from rising energy prices, charge an electric vehicle, run a heat pump more efficiently or store surplus power in a battery. These priorities affect the recommended panel size, battery capacity and equipment layout.
Gather a full year of electricity bills if possible. This gives a clearer picture than one recent bill because energy use often changes with the seasons. Businesses should also consider operating hours, machinery, refrigeration, lighting and future expansion. A household planning an EV charger, air source heat pump or home extension should mention this at the outset too.
Your installer will complete a site survey, assessing roof orientation, pitch, shading, structural suitability and the electrical supply. South-facing roofs can produce excellent results, but east- and west-facing arrays can also be highly effective, particularly where electricity demand is spread across the morning and afternoon. The right design depends on your property and usage, not a one-size-fits-all rule.
Check the roof’s condition first
Solar panels are designed to last for decades, so it makes sense to deal with any existing roof issues before installation. Look for slipped tiles, damaged flashing, signs of leaks, deteriorating flat-roof coverings or areas that have required repeated repair. If your roof is nearing the end of its useful life, reroofing first may be the better long-term decision.
Do not assume an older roof is unsuitable. Many properties can accommodate solar panels safely after a professional assessment. However, installing panels and then needing major roof work shortly afterwards creates avoidable cost because the array may need to be removed and refitted.
Trees, chimneys, dormers and neighbouring buildings can also cast shade across the roof. Small amounts of shade do not automatically rule solar out, but they can influence panel placement and whether optimisers or a different system design would be worthwhile. Avoid trimming or removing trees before professional advice, especially where preservation orders may apply.
Make access easy and safe
Installers need safe access to the roof, loft, consumer unit and the location chosen for the inverter and any battery. Before the installation date, clear cars from the drive, move garden furniture and make space for scaffolding where required. If access is narrow, restricted by gates or shared with neighbours, flag this during the survey rather than on the morning of the work.
Inside, clear a route from the entrance to the consumer unit and loft hatch. The loft should be accessible, with stored belongings moved away from the immediate working area. If there is fragile boarding, limited headroom or an unusual access hatch, tell the installation team in advance.
For commercial premises, plan around staff and customers. A solar installation may require temporary access restrictions, work at height controls and brief electrical isolation. Scheduling the work outside peak trading hours can reduce disruption, but this depends on the scale of the project and site access.
Consider pets, children and neighbours
Scaffolding, drilling and electrical work can be noisy. Keep pets in a secure room or arrange for them to be elsewhere during the busiest parts of the installation. Young children should be kept away from work areas, tools and open doors.
It is also courteous to let close neighbours know when scaffolding and installation work are planned. This is particularly useful for terraced properties, shared driveways or homes where the scaffold team may need short-term access close to a boundary.
Review your electrical setup
Your solar inverter needs to connect safely to your property’s electrical system. During a survey, the installer will inspect your consumer unit, earthing arrangement and incoming supply. Older fuse boards, limited capacity or non-compliant electrical work may need attention before solar can be commissioned.
This is not a reason to abandon the project. It simply means the electrical work should be planned properly. Upgrading a consumer unit can improve safety and create capacity for solar, battery storage, an EV charger or other low-carbon technology.
If you are adding a battery, decide where it will be located early. A garage, utility room or suitable internal area is often practical, but the final position must meet product clearances, temperature requirements and fire safety guidance. Batteries are not always best placed in a loft due to weight, heat and access considerations.
You should also locate your electricity meter and check whether you have a smart meter. Export payments for surplus solar electricity are usually simpler to manage with an export-capable smart meter. If you do not have one, speak to your energy supplier about arranging it, although this should not usually hold up the installation itself.
Plan permissions and grid connection properly
Most domestic rooftop solar panel systems fall under permitted development rights, meaning formal planning permission is often not required. There are exceptions, including listed buildings, properties in conservation areas, ground-mounted arrays and installations that exceed permitted development limits. Flats and commercial buildings can also involve different ownership or approval requirements.
If you are a landlord, leaseholder or managing agent, confirm who has authority to approve the work. Lease terms, freeholder consent and building management rules should be checked before committing to an installation date.
Your installer should manage the required Distribution Network Operator notification or application. Smaller domestic systems are commonly notified under G98 rules, while larger systems or systems with more complex export arrangements may require G99 approval before installation. This process protects the local electricity network and should never be overlooked.
Choosing an MCS-certified installer is also valuable for quality assurance and eligibility for relevant export arrangements. Ask what paperwork you will receive after commissioning, including electrical certification, system handover information, warranties and MCS documentation where applicable.
Prepare for installation day
On the day, expect the team to set up scaffolding, mount the roof fixings and panels, run cabling, fit the inverter and complete the electrical connection. The exact duration depends on the property and system size, but many straightforward domestic installations are completed within one or two days. Larger arrays, battery systems and electrical upgrades can take longer.
You may need to be available to provide access and answer practical questions, particularly about cable routes or equipment locations. Keep your phone nearby, but there is no need to supervise every stage. A professional team will explain any necessary changes before proceeding.
There may be a short interruption to electricity while the system is connected and tested. Charge essential devices beforehand and avoid planning work that depends on uninterrupted power. If anyone in the property relies on powered medical equipment, discuss this with the installer well before the installation date.
Once the system is commissioned, ask for a clear handover. You should understand how to view generation, what the inverter lights or app notifications mean, how battery settings work if fitted, and who to contact if you have a question. Keep the handover pack somewhere accessible for future servicing, insurance and property-sale purposes.
Think beyond the panels
Solar works best when it becomes part of a wider energy plan. Running appliances during daylight hours can increase the amount of solar electricity you use directly. A battery can store excess generation for later, while an EV charger can help turn daytime solar into lower-cost motoring. For properties considering a heat pump, solar can support a more efficient, lower-carbon approach to heating and hot water.
The right combination depends on your budget, roof space and energy habits. Start with a system that makes commercial sense now, while leaving room for future additions where practical. Airtech Renewables can help assess solar panels, battery storage, EV charging and complementary home energy systems as one connected solution.
A well-prepared installation is not about doing the technical work yourself. It is about giving the project the right foundations: a sound roof, clear access, realistic energy goals and a qualified installer. That preparation helps your solar system start producing cleaner electricity and supporting lower bills from the moment it is switched on.